
Eventually “shortly” came, and I’ve been making a
start on them now! So, first of all, for what you’re paying (£9.00 for the “hovel”
and £14.00 for the “dwelling”), it’s great value. You get a very sturdy piece
of scenery which is already painted for you, and very simple to put together
with basic tools and PVA. It even has a finished interior for you, a great idea
if you’re going to use them in skirmish gaming, and wish to go all Lawrence Llewellyn
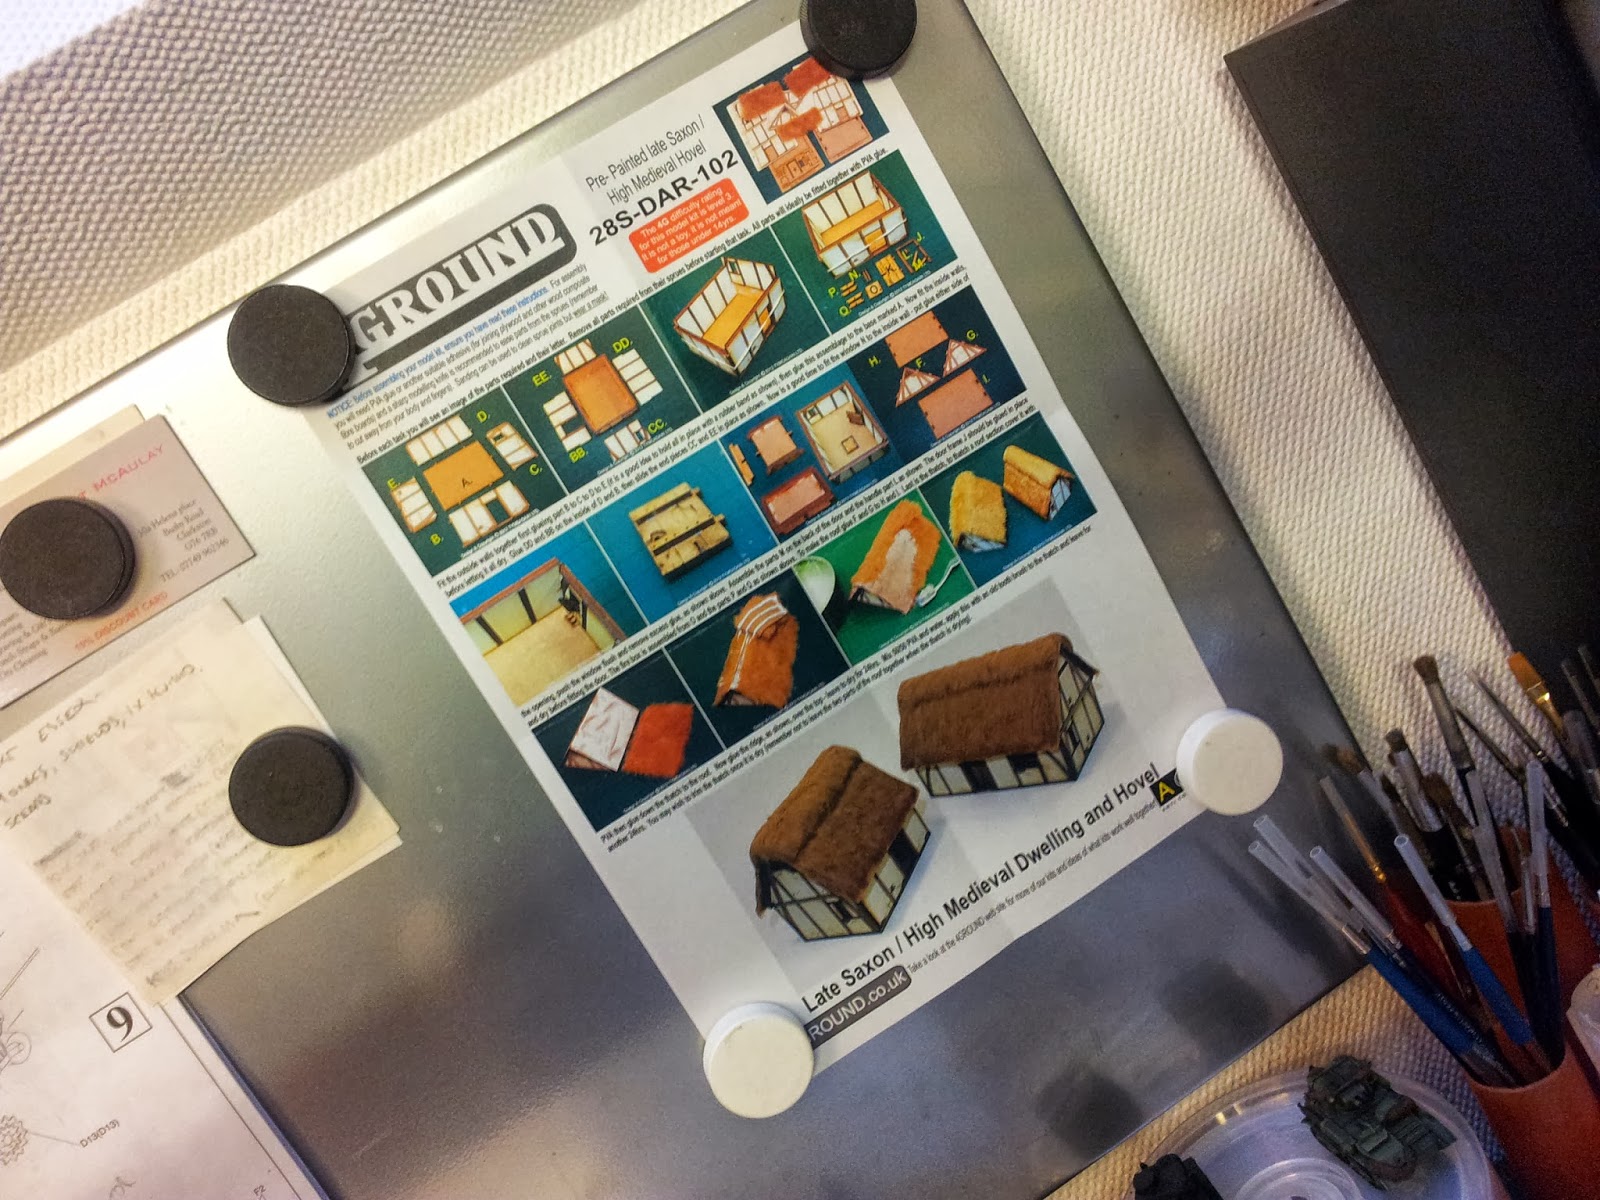
Bowen and kit out the inside. Full colour instructions are included, and you
also get some faux fur to do the thatched roof. I was a bit sceptical about
this, but more on that later…
What’s in the bag?

Destructions
Behold! The skinned pelt of a teddy!

So, making a start. All the parts are contained on
a pre-laser cut frame. It’s just a matter of pressing them out, and gluing them
together with PVA, using the locating lugs as indicated on the instructions.
First step is the floor and walls. Both internal and external wall layers are
included, which gives a finish to the inside, and adds to the sturdiness. I
held them together with elastic bands ‘til the glue hardened.

Once that’s done, the door-frame and windows are
added. They could be left at a jam fit, but I used a dab of superglue just to
be sure.

After that, the door is assembled (be careful
fitting the handle, this is the one area where the instructions could be
clearer…), and the whole lot is set aside to dry.

I then moved on to the roof. First of all, sand
the roof panels and score them; you want to ensure the PVA that holds the
thatch will stick!

Then simply glue the components together as per
the instructions. It’s not rocket science!

The roof can then join the bottom section in
drying off, held together with another couple of ‘laggy bands. Now, remember this
is like 20 minutes work, and you’re all but finished. I can’t recommend these
products highly enough to anyone looking to build a town or just populate their
board with a few buildings quickly and to a high standard.

While all that’s drying, it’s time to move on to
the interior detailing. What do you mean “you can’t see it so it doesn’t matter”?!
You need something to be getting on with while the rest’s drying! Honestly
though, as per above, if you were just looking to get a town or village on the
board quickly, there is no need to use these pieces. But I came from 35th
scale modelling, so missing out any detail is an anathema to me. And besides, I
have the seed of an idea in my head about a campaign game with rules for
sacking houses to collect loot…
Starting with the firepit. This is a simple enough
wee element to build. You will need glue for this, though, the fit of the parts
is quite loose. You could use PVA, but I used super=glue ‘cos I’m an impatient
sod. Tick it together as the instructions tell you.

Once you’ve done that, and it’s dry, you’re ready
to start the fire itself.

I started with some fine railway ballast. This is
going to represent the ashes of old fires. Cover the bases with PVA, and dump
the ballast in

You’ll end up with something like this

Once that’s dry, get some coarser grit or fine
stones. Put a big dollop of superglue in
the middle of the base and add the stones. You want this standing proud of the
ashes, so don’t be stingy. Leave it to dry.

Back to the doors. This step isn’t really necessary
either, but it improves the look. Get some black paint and add in some lines
running up and down the door, to represent wood grain (you could use a black
fineliner pen for this, too). Once that’s dry you could leave it there. I added
a thin wash of brown paint to try and match it to the wood tone on the wall
joists.

And now, in the best traditions of the British
building trade, we’ll take a break for a cup of tea and a look at the third and
back pages of The Sun.
Next time on Homes Under The Hammer (of The
Scots), we’ll look at flooring options for the discerning yeoman and the best
way to thatch your roof for less than a hundred groats and a pig.
Cheers
Iain.
Hehee! St Albans creeps ever closer!
ReplyDeleteYup. You seen the new plastic cottage and chapel that's on the horizon?
ReplyDeletehttp://www.lead-adventure.de/index.php?topic=58808.0
Might pick up the chapel, actually; I'd been looking about for one the other week, then that appeared on Lead Adventure. What we're we saying about folk eavesdropping and stealing our ideas?!